Last updated November 22, 2026
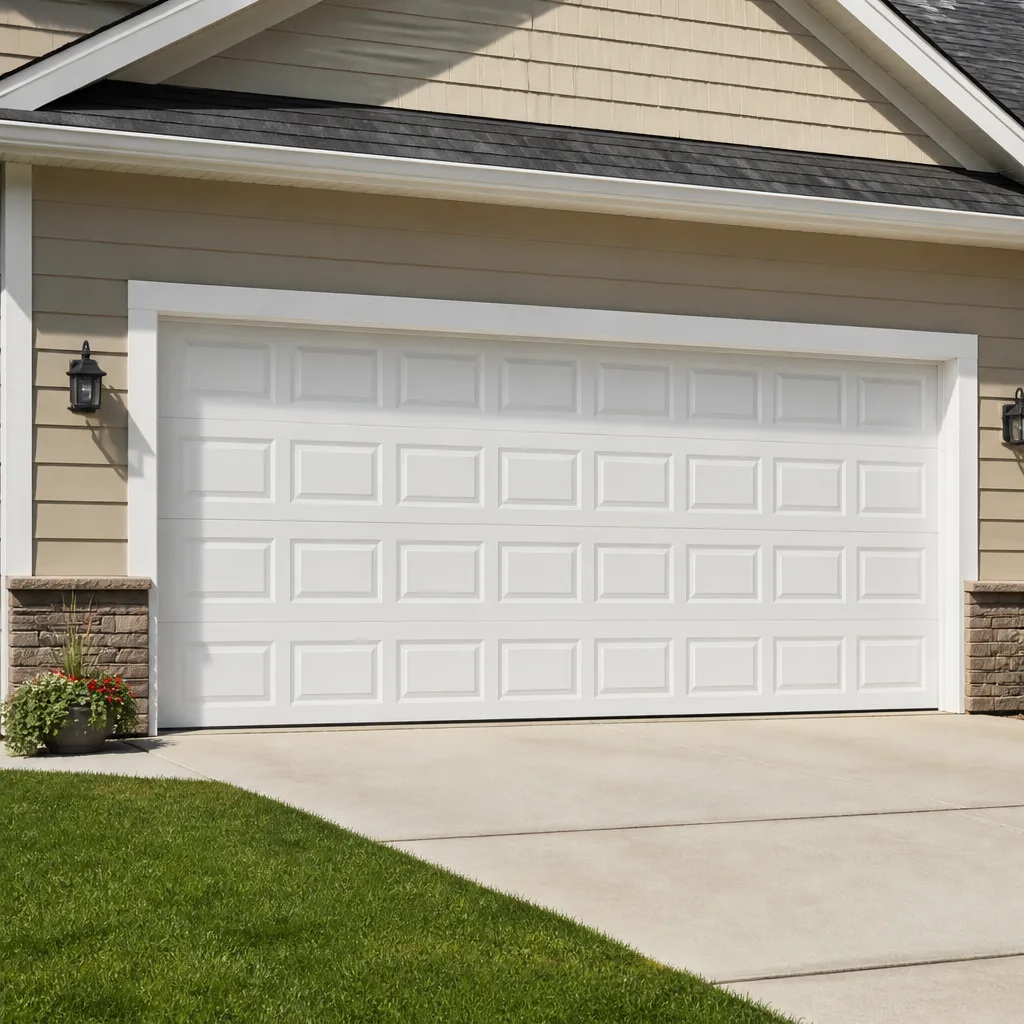 Raised-panel steel
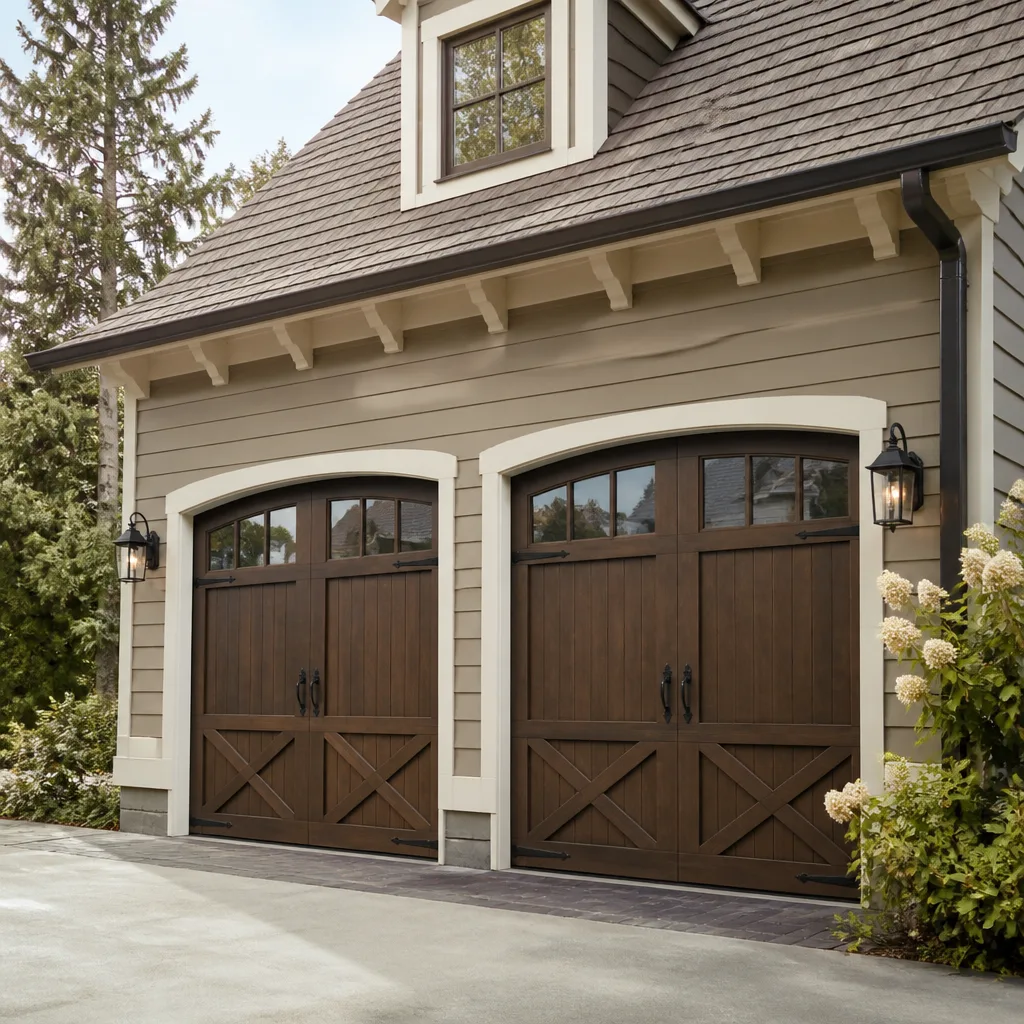 Carriage house
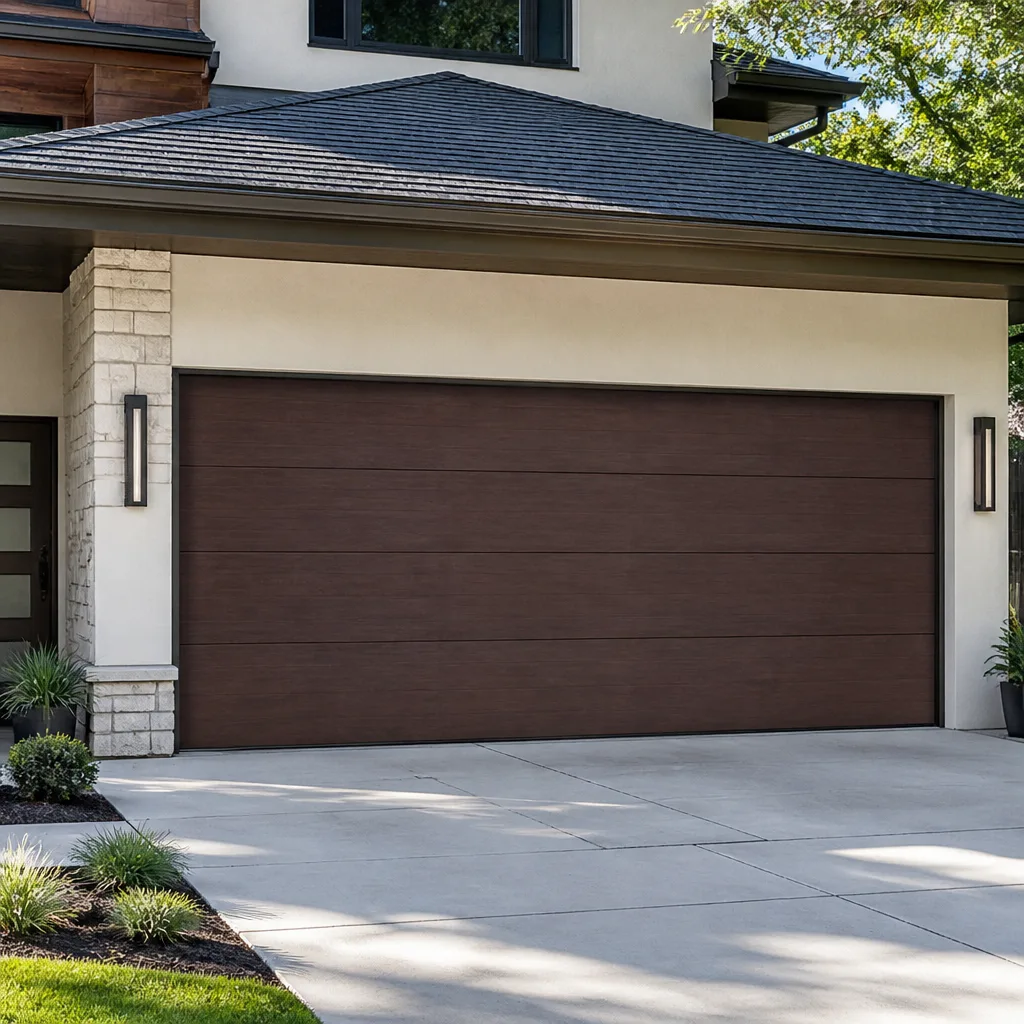 Modern flush
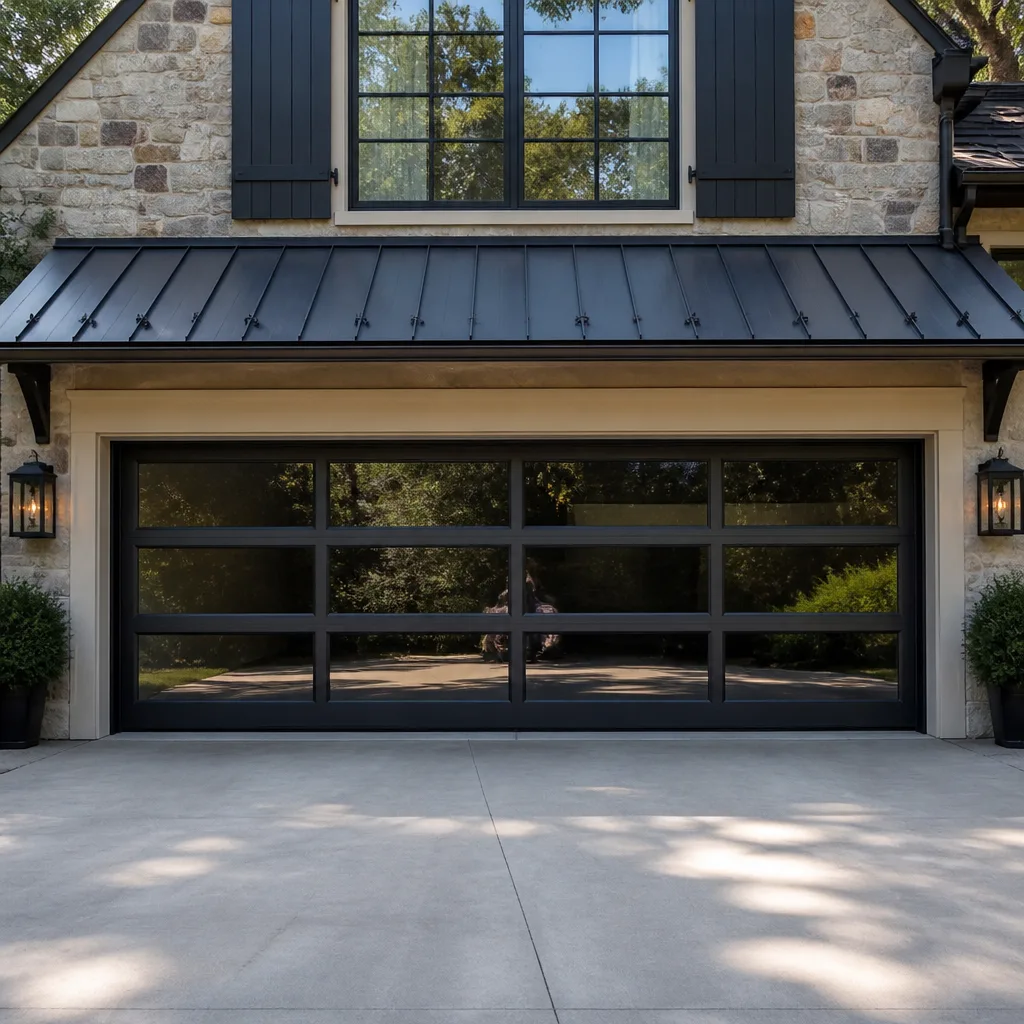 Full-view glass
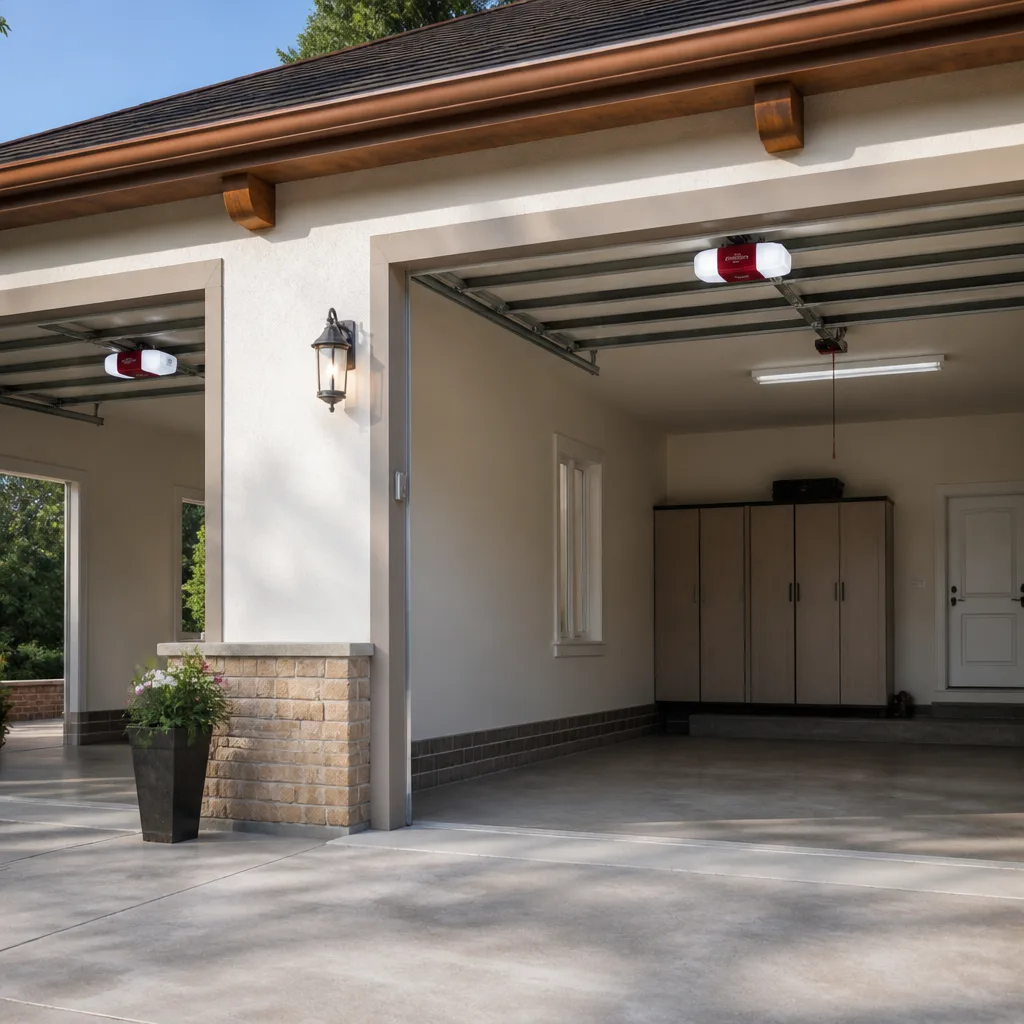 LiftMaster openers
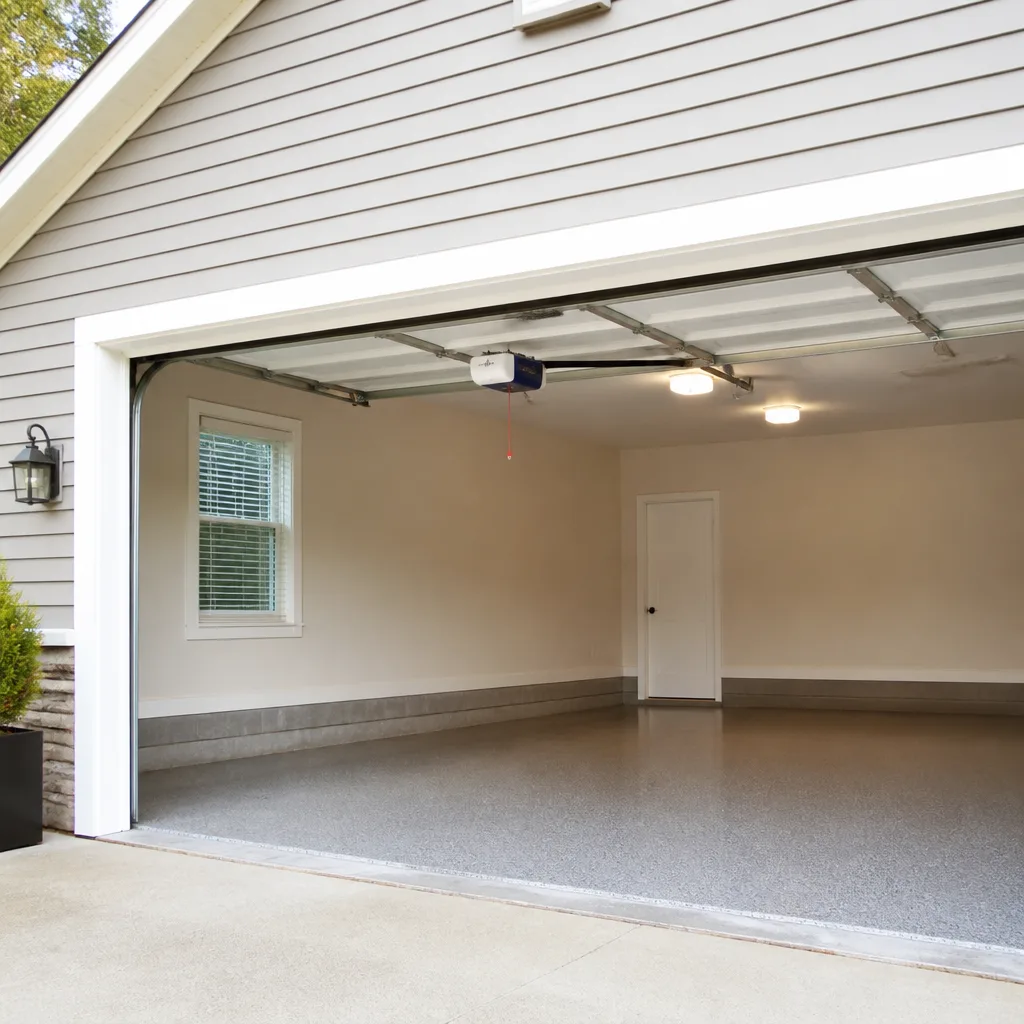 Chamberlain openers
Full 25-point door and opener safety check with every visit - springs, cables, rollers, tracks, and your LiftMaster or Chamberlain opener included
You get a price before we start. It does not change when the pro arrives.
Get your free estimateGarage Door Repair Maintenance Checklist for Miami Gardens Homeowners
A silicone spray that works fine in Atlanta will wash out of your tracks in a Miami summer humidity cycle within 60 days. That’s the part most checklists get wrong. Generic advice tells you to lubricate twice a year and call it done, but the products, the timing, and the parts that fail first here are different enough that following a northern schedule can actually speed up wear on your door. Humidity, heat, heavy rain weeks, and the way Miami Gardens homes use the garage as a primary entry point all change what needs attention. This guide gives you a checklist sequenced around what breaks first in Miami Gardens, split cleanly into what you can safely handle and what should go to a technician.
Quick Answer
In Miami Gardens, garage door maintenance means checking springs, seals, and hardware every 90 days rather than every 6 months, using a humidity-resistant lubricant (not a light silicone spray that washes out), inspecting bottom seals before the May rainy season starts, and never touching torsion springs or cables yourself. A door that runs smoothly and seals tight is the goal; a door that squeaks, sticks, or lets water in is telling you something needs attention now.
Styles & brands we work with
- Raised-panel steel
- Carriage house
- Modern flush
- Full-view glass
- LiftMaster openers
- Chamberlain openers
Table of Contents
- Why a Miami Gardens Maintenance Schedule Looks Different
- The Right Lubricant for Miami Gardens Heat and Humidity
- The 90-Day Spring and Seal Inspection Cycle
- Spotting Early Corrosion on Torsion Springs
- Weather Seal Inspection Before the May Rains
- Homeowner Tasks: What You Can Safely Do
- Technician Tasks: What to Leave Alone
- Opener and Safety Reverse Checks
Why a Miami Gardens Maintenance Schedule Looks Different
Miami Gardens doesn’t get the freeze-thaw swings that drive garage door maintenance advice in most of the country. What it gets instead is sustained heat, high humidity, and a distinct rainy season that starts around May. That combination produces a different set of failure points, and it changes the order of operations.
In colder climates, the biggest seasonal threat to a door is ice and temperature contraction. Here, the threats are moisture, grit, and heat cycling. Metal hardware expands and contracts with daily temperature swings, which loosens fasteners over time. Humidity keeps lubricant from staying put. Wind-driven rain during the summer pushes against bottom seals and side weatherstripping, and any gap that a northern homeowner might ignore for a year becomes a water entry point in a single storm season.
The other local factor is how people use the door. In Miami Gardens, the garage is often the main way in and out of the house. That means more cycles per day than a door that’s used once in the morning and once at night. More cycles equal faster wear on springs, rollers, and hinges, which is exactly why the inspection interval tightens up.
If your door already has a problem, our garage door repair team can look at it, but the point of this checklist is to catch those problems before they turn into a sprung spring or a door that won’t close. Maintenance is cheaper than repair, every time.
The Right Lubricant for Miami Gardens Heat and Humidity
This is where generic advice fails hardest. A light silicone spray feels great for a week, then washes out or evaporates in the heat and humidity cycle we get here. What’s left behind is a nearly dry surface that attracts grit, and grit in a track or a hinge grinds away metal every time the door moves.
Use a heavier, tacky lubricant designed for garage door hardware. Lithium grease or a dedicated garage door lubricant that stays put is the right call for hinges, rollers, and the torsion spring itself. The goal is a lubricant that clings, not one that runs.
What to lubricate and what to leave alone:
- Hinges: a small amount at each pivot point. Wipe off excess so grit doesn’t collect.
- Rollers: a drop on the stem of metal rollers (not the wheel face). Nylon rollers generally need nothing.
- Torsion spring coils: a light coat along the coil, never on the cable itself.
- Track: clean the track, then a very thin film only. Too much lubricant in a track traps dirt and causes binding.
- Do not lubricate: the opener rail’s plastic carriage (follow the manufacturer’s instructions), the photo-eye lenses, or the bottom seal.
One more local note: check your lubricant level after heavy rain weeks. Doors that get wet at the bottom or take wind-driven rain need a top-up sooner than the label suggests. A quick wipe-and-reapply on hinges after a stormy stretch pays off. For opener-specific quirks, our garage door opener repair page covers the motor and control side in more detail.
The 90-Day Spring and Seal Inspection Cycle
The standard advice is a 6-month inspection. In Miami Gardens, we recommend every 90 days. Here’s why: the combination of heat, humidity, and daily-use frequency shortens the window between “fine” and “about to fail.” A spring that’s been slowly losing tension for months gives you warning signs, but only if you’re looking every season instead of twice a year.
Your 90-day walkaround, in order:
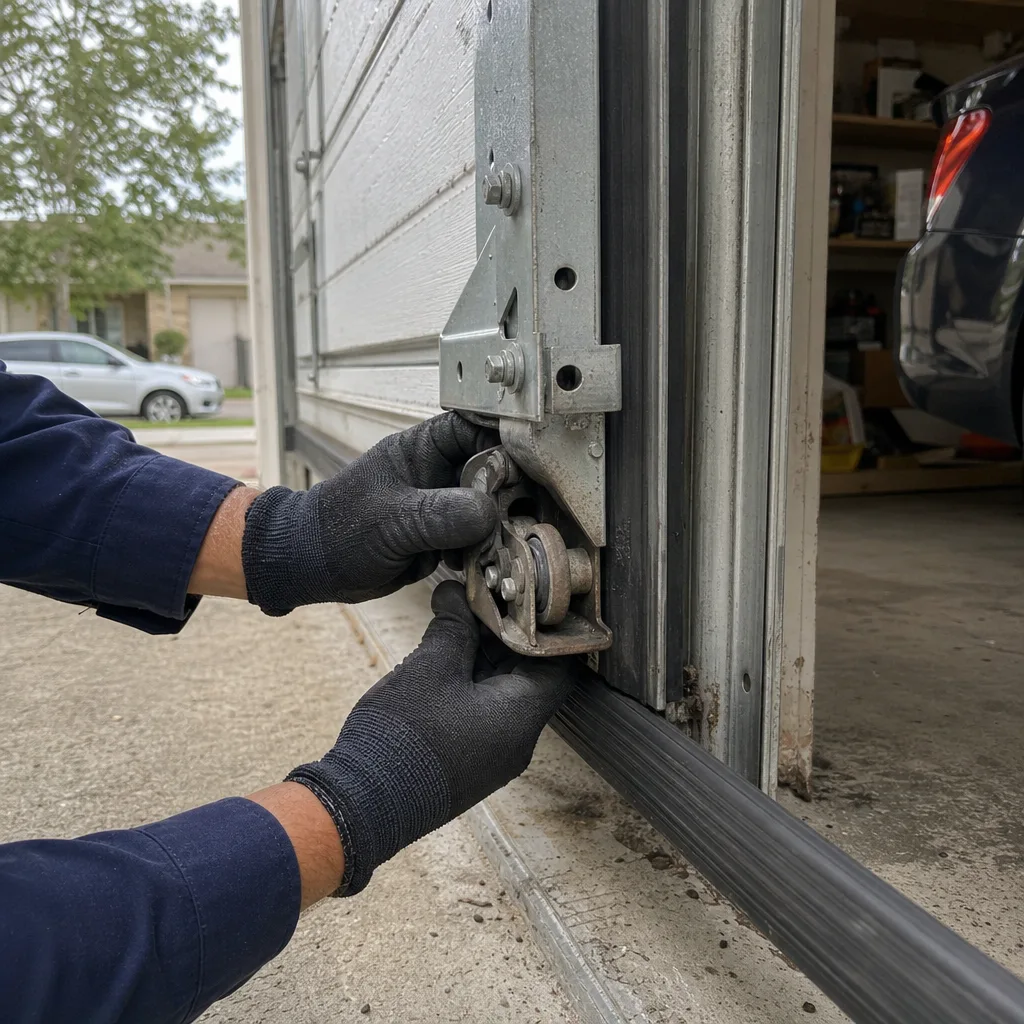
- Look at both springs (torsion springs above the door or extension springs along the sides). Check for gaps, rust, or a stretched appearance.
- Look at the bottom seal for cracks, gaps, or a flap that no longer touches the floor.
- Check the side weatherstripping for pulled nails or gaps, especially after wind-driven rain.
- Run the door and listen. Grinding, popping, or a door that jerks forward should be addressed now.
- Test the safety reverse with a small object on the floor to confirm the door reverses on contact.
- Wipe down hinges and check fasteners for looseness.
Do this on a schedule you can actually remember. The start of each season works well, since Miami Gardens weather shifts noticeably from dry winter weeks into the wetter summer pattern. If you find a broken spring during your check, stop running the door and call for garage door spring repair; a broken spring puts the whole weight of the door on the opener and cables, and that’s a setup for damage.
Spotting Early Corrosion on Torsion Springs
Torsion springs fail in stages, and here the stages show up as corrosion before they show up as breakage. High humidity slowly works on the coil’s surface, and once rust pits the steel, the spring’s life shortens fast. Catching corrosion early is one of the highest-value things you can do.
What to look for on torsion coils:
- Surface discoloration: a brown or orange cast on the coils that wasn’t there last inspection.
- Powdery residue: fine flakes under the spring, which means the coating is breaking down.
- Pitting: small rough spots you can feel with a gloved finger; stop there and don’t keep handling it.
- Visible gaps or a sagging coil: a sign of a spring under strain.
If you see any of these, don’t try to clean or coat the spring yourself. A torsion spring is under extreme tension, and the trip-and-release mechanism can seriously injure anyone who isn’t trained. Call a technician. In our experience, catching a spring at the discoloration stage usually means a simple replacement before any door damage, while catching it after pitting often means fixing the spring plus cables or hardware.
This is also why a heavier lubricant matters. A clinging coat slows surface corrosion. A light spray that’s gone in 60 days doesn’t. If you’re not sure whether your spring needs attention, a free estimate is the fastest route to a clear answer.
Weather Seal Inspection Before the May Rains
Forget the calendar date. Tie your seal check to the rainy season, which here typically starts in May. Your goal is having a tight bottom seal and intact side weatherstripping in place before the first big rain weeks, not after water’s already found its way in.
A failed bottom seal does more than let water in. It lets humidity and grit in, and it lets conditioned air out. It also becomes the first entry point for insects and small pests, which is a problem most northern maintenance guides never mention.
What to check on the seal:
- Contact with the floor: the seal should compress slightly when the door is fully closed.
- Cracks or splits: any visible crack means replace it.
- Side channels: the rubber or vinyl weatherstripping on each side should be flush and not curling.
- Top seal: check for daylight showing through.
If a seal is borderline, replace it before May. If it’s gone, don’t wait. A seal swap is a job we do quickly, and it’s one of the simplest upgrades for a Miami Gardens home that gets hit with summer rain. Our team handles seals, tracks, and hardware alongside the door and opener, so one call takes care of it.
Homeowner Tasks: What You Can Safely Do
Most of the useful maintenance on a garage door is safe with basic care. The rule of thumb: anything at eye level that doesn’t involve tensioned metal is fair game. Anything under load, or anything above the door, is not.
Safe homeowner tasks:
- Wipe down and lubricate hinges, roller stems, and the track with a tacky garage door lubricant.
- Clean the track with a cloth and mild cleaner; clear the bottom of grit.
- Check and tighten visible hinge and bracket fasteners with a screwdriver, not by pulling on tensioned parts.
- Test the safety reverse with a small object.
- Check the photo-eye alignment (the sensors near the floor on each side); wipe the lenses if they look dirty.
- Visually inspect seals and springs for cracks, gaps, or discoloration, and write down anything you find.
- Test your keypad, remote, and any smart controls, and replace remote batteries on a schedule.
If you own a LiftMaster, Chamberlain, or Genie opener, most of these checks are the same. If a remote or keypad stops responding, rule out a battery before assuming the motor’s gone. And if you’re a landlord or property manager keeping up with multiple doors, a simple maintenance log with dates and findings saves a lot of repeat calls.
Technician Tasks: What to Leave Alone
Some work belongs to a trained technician, full stop. The two most dangerous parts of a garage door are the springs and the cables, and both are under enormous tension. A torsion spring can cause serious injury, and a slipping cable has similar potential. We won’t coach a homeowner through this work, and you shouldn’t want us to. The safe answer is a technician with a winding bar, proper gloves, and the sequence memorized.
Jobs to hand to a technician:
- Replacing torsion springs or extension springs.
- Any adjustment to cables, drums, or the torsion bar.
- Replacing a broken or bent track.
- Any work on the opener’s motor, gear assembly, or capacitor.
- Replacing rollers that are seized or binding.
- Any structural panel damage or misalignment.
When in doubt, treat the springs and cables as off-limits. Our technicians have up to 9 years of experience, and we’re factory-familiar with the equipment the door already has. If the door is a Clopay door paired with a LiftMaster opener, we know what to expect before we arrive, which speeds up the diagnosis. That matters most when a door won’t open in the morning and the family needs it back in service quickly.
Opener and Safety Reverse Checks
The opener is a separate system from the door, and it deserves its own maintenance slot. Most homeowners treat them as one unit; technicians treat them as two, and so should you. The door is springs, tracks, rollers, and panels. The opener is the motor, the drive, the sensors, the remotes, and the controls.
Your monthly opener checklist:
- Test the safety reverse with a small, soft object like a roll of paper towels on the floor. The door should reverse on contact.
- Test the photo-eye safety beam by blocking it with your hand. The door should not close.
- Press the wall button and confirm the door opens and closes smoothly without hesitation.
- Check the emergency release functions properly (pull only when the door is closed).
- Clean the photo-eye lenses if they have dirt or spider webs.
If the opener reverses for no reason, if the motor runs but the door doesn’t move, or if the light flashes in a pattern, that’s a technician call. Bring the brand model number when you call; it saves time on the visit. If your opener’s control side needs a proper diagnosis, our garage door opener repair team works across the major brands you’re likely to have.
One more thing: don’t ignore a slow, noisy opener. A grinding sound from the motor or a door that stalls mid-travel is easier to fix early, before the motor’s strained itself into a bigger problem.
Common Mistakes to Avoid
- Using a light silicone spray and calling it done. It washes out in the humidity here within about two months. Use a tacky lubricant that stays put.
- Following a 6-month inspection schedule. Miami Gardens doors need a 90-day check because heat, humidity, and daily cycle count all push wear faster.
- Waiting for the rainy season to check the bottom seal. Check before May. After the first storm, a failed seal has already let water in.
- Lubricating the track too heavily. A thin film is enough. Excess lubricant traps grit and causes binding.
- Ignoring corrosion on the spring. Discoloration and powdery residue are early signals. Catching them early is the difference between a simple repair and a bigger fix.
- Testing a stuck or uneven door. If the door opens crooked or is stuck, stop. Running it can damage the opener or warp a panel.
- Trying to adjust springs or cables yourself. Both are under enormous tension. Leave them to a technician.
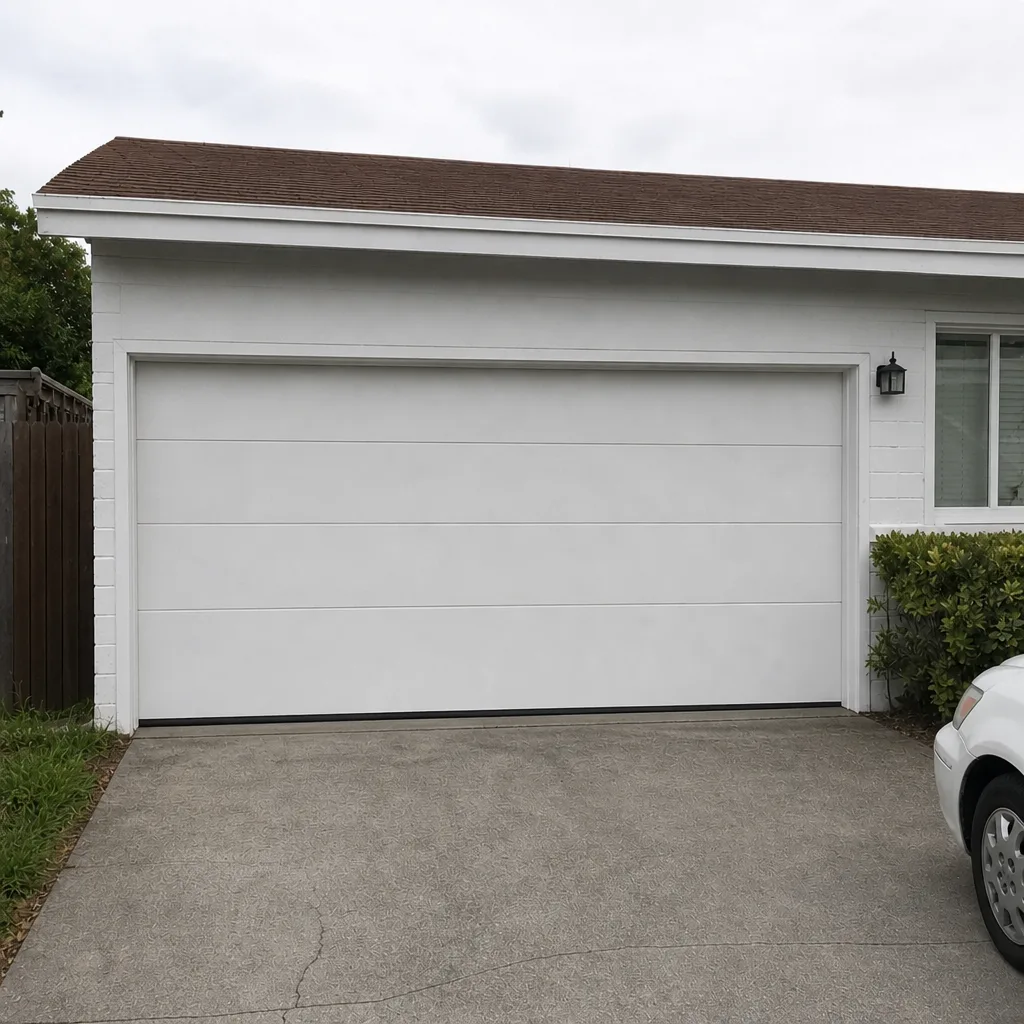
See the difference
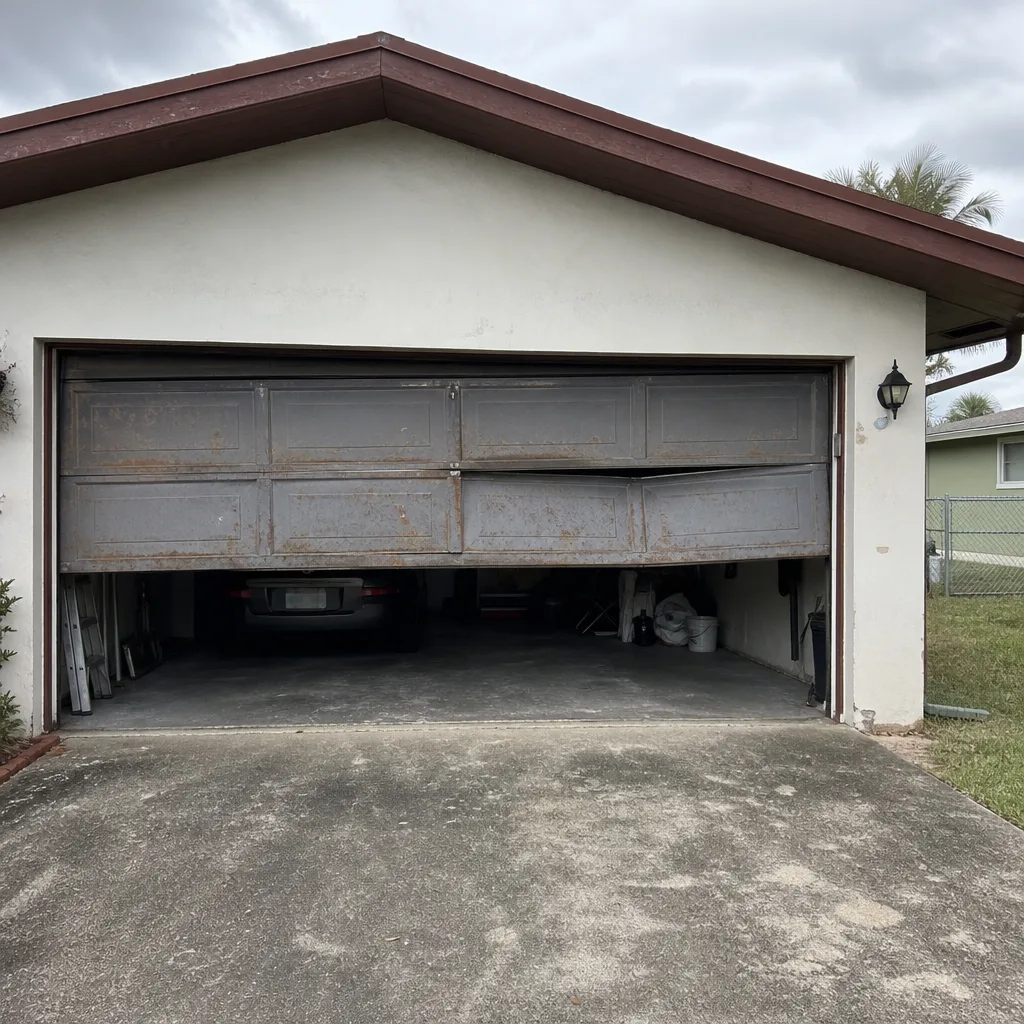 Before
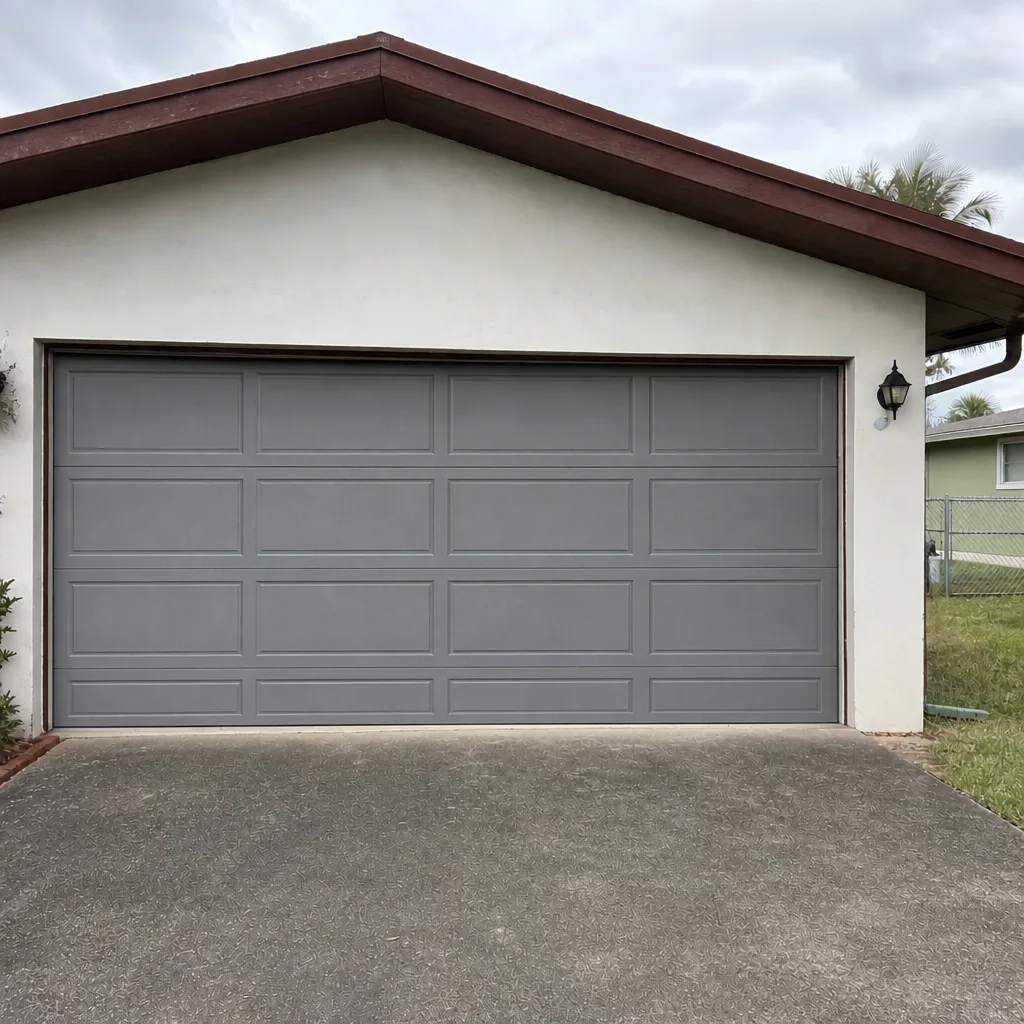 After
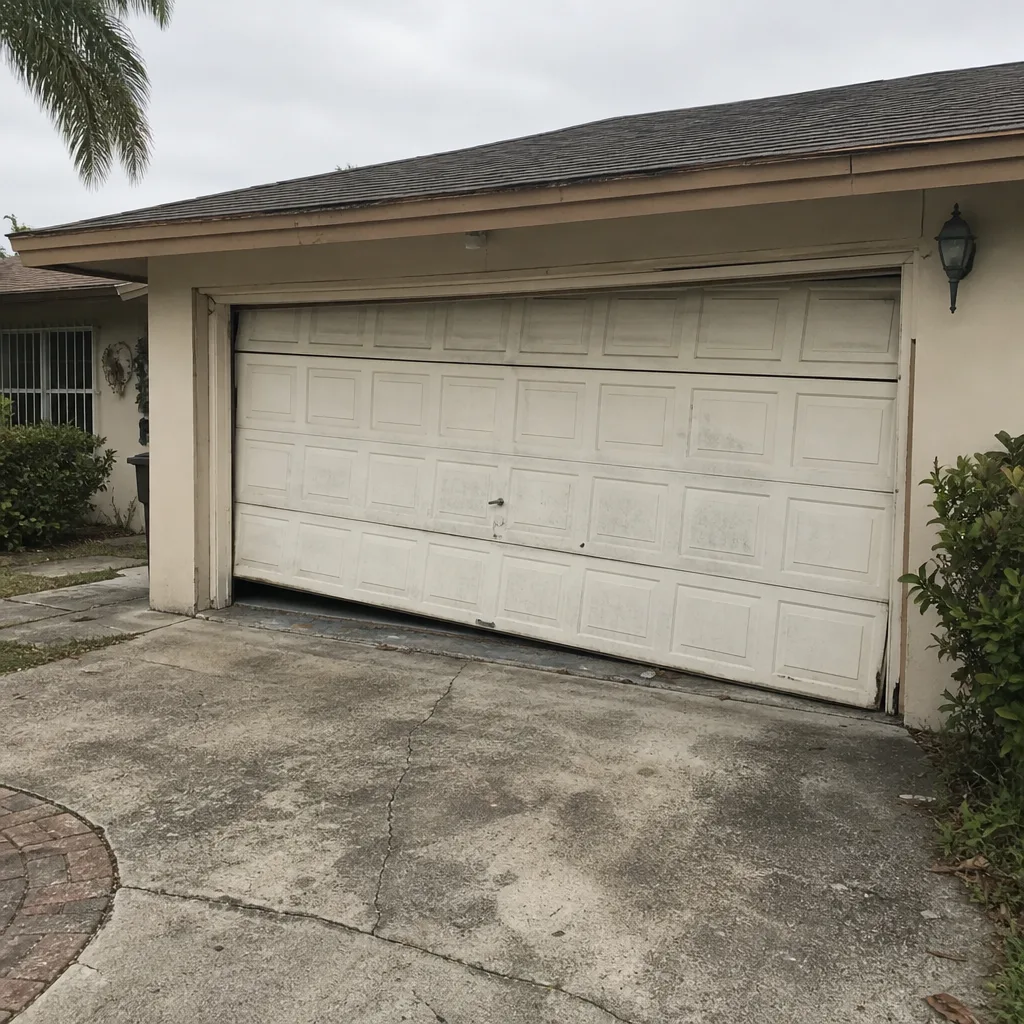 Before
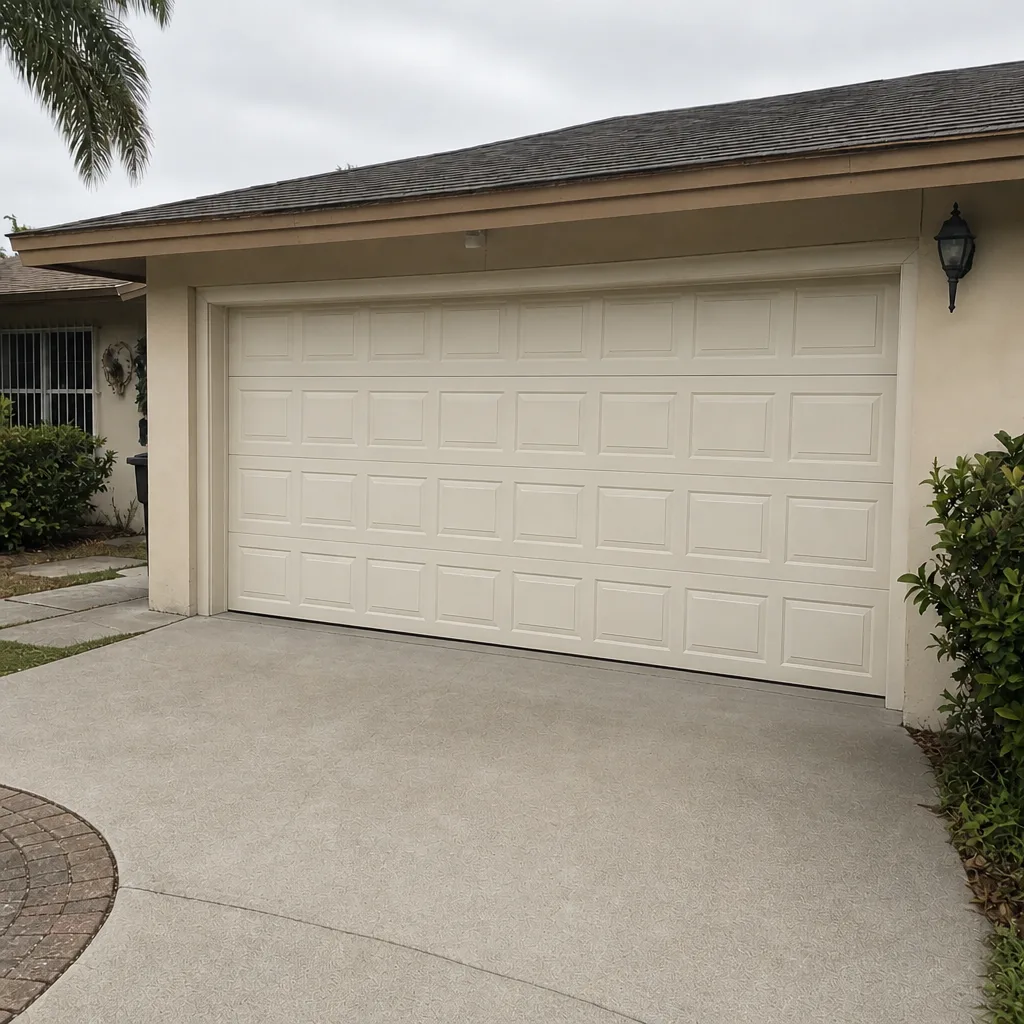 After
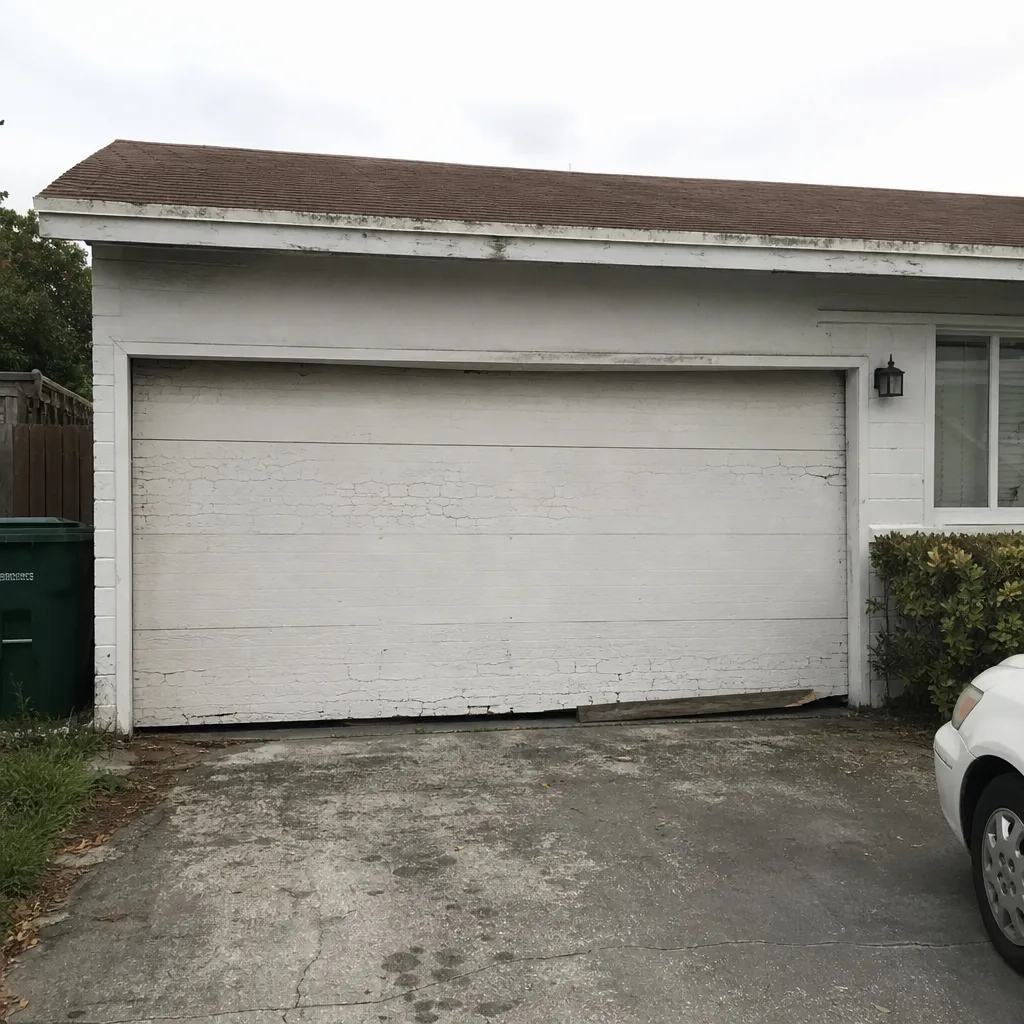 Before
 After
When to Call a Professional
Call a professional when the door won’t open or close, when a spring looks broken or corroded, when the door moves unevenly, when you hear grinding or popping, or when the opener runs but the door doesn’t move. Also call if you’ve had water intrusion after a storm, if the bottom seal is cracked or gone, or if you can’t remember the last time the safety reverse was tested. Our technicians are trained for both the mechanical and control side of the system, so one call covers the whole setup.
If you need a proper service, our Miami Gardens Garage Door Repair Co team provides free estimates in Miami Gardens. Call (877) 583-5491 and we’ll get a technician out to look.
Frequently Asked Questions
Every 90 days is the right interval for most Miami Gardens homes. Heat, humidity, and heavy daily use speed up wear on springs, seals, hinges, and hardware compared to a northern schedule. A 6-month check works in milder climates; here, the general recommendation is 90 days.
A tacky, heavy lubricant such as lithium grease or a dedicated garage door lubricant. A light silicone spray washes out within about 60 days in this humidity and will attract grit once it breaks down. Apply a small amount to hinges, roller stems, and coils, and wipe off any excess.
No. Torsion and extension springs are under extreme tension, and a slip can cause serious injury. Replacements need a trained technician with proper tools. A visibly corroded spring is a call-a-pro situation even before it breaks.
Before May, when the rainy season typically starts. A cracked or ineffective bottom seal lets water and humidity in during summer storms and becomes an entry point for pests. Check it every 90 days and replace it before summer, not during.
The maintenance basics are the same for most residential doors and openers. Brand does matter for repairs and parts; knowing whether the door is a Clopay, Amarr, or Wayne Dalton helps a technician source the right hardware, and knowing whether the opener is a LiftMaster, Chamberlain, Genie, or Craftsman speeds up diagnosis.
Yes. Call (877) 583-5491 to schedule a free estimate in Miami Gardens. We’ll diagnose the door or opener, and the written quote before any work starts is the price you’ll see for the job.
The Bottom Line
Garage door maintenance in Miami Gardens is less about the calendar and more about the conditions. A 90-day inspection cycle, a tacky lubricant instead of a light silicone spray, a seal check before the May rains, and an eye on spring corrosion catch the most common failures early. Split the work into what you can safely do (lubricate, wipe, test, inspect) and what needs a technician (springs, cables, tracks, opener internals), and don’t push a stuck or uneven door. Done consistently, this checklist keeps your garage door quiet, sealed, and safe through a Miami Gardens summer.
If a check turns up something you’d rather not handle, or you just want a technician’s eye on the whole system, call (877) 583-5491 for a free estimate. We work on the door and the opener together, and we’ll help you decide what actually needs attention.
Written by the team at Miami Gardens Garage Door Repair Co.